Chapter 3

In this page, you will find some of the images referenced in Chapter 3 from the audiobook version of End Boring.

Speaking Area

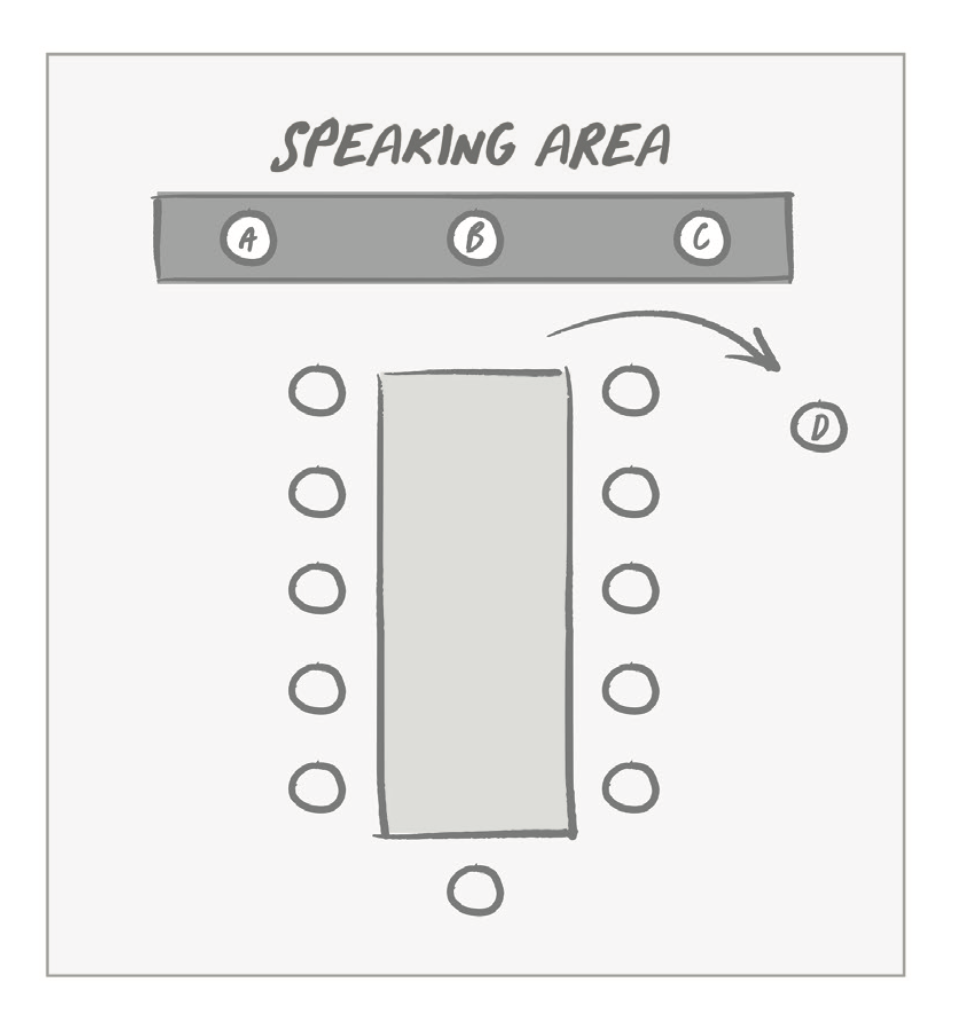
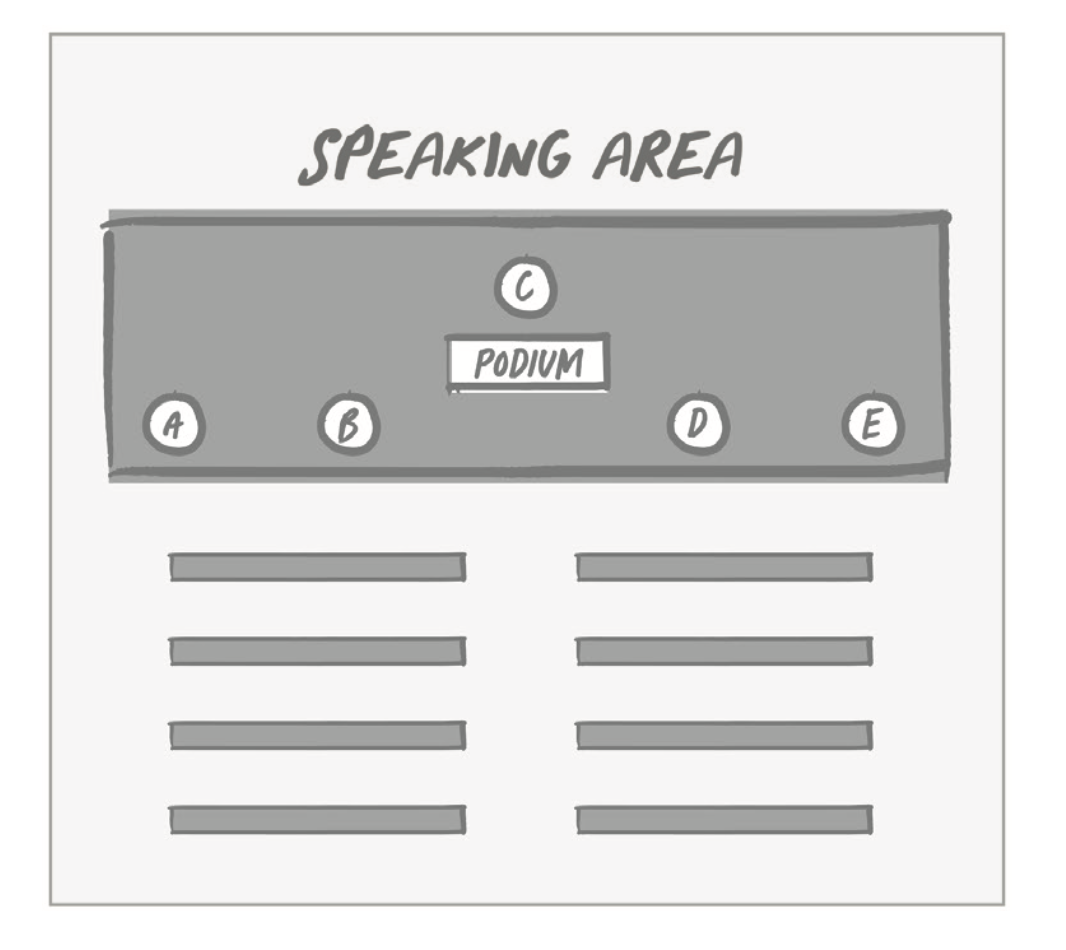
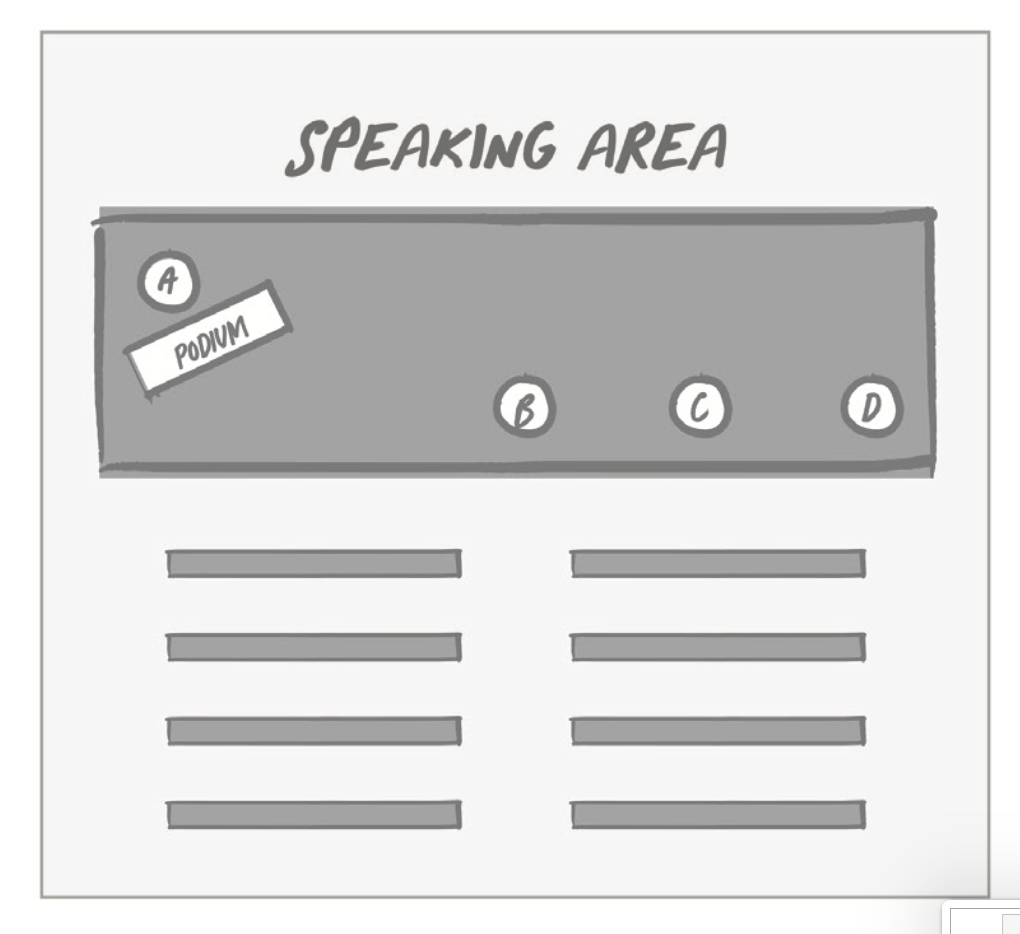
You'll see below space options -classrooms, stages, boardrooms- and, in each space, multiple letter which suggest different place to stand. The smart speaker pics a few places to stand in advance. Then, moves between each space every few sentences. The key is not just to move within each space, but rather to spend a little time at each space as well.

The Classroom
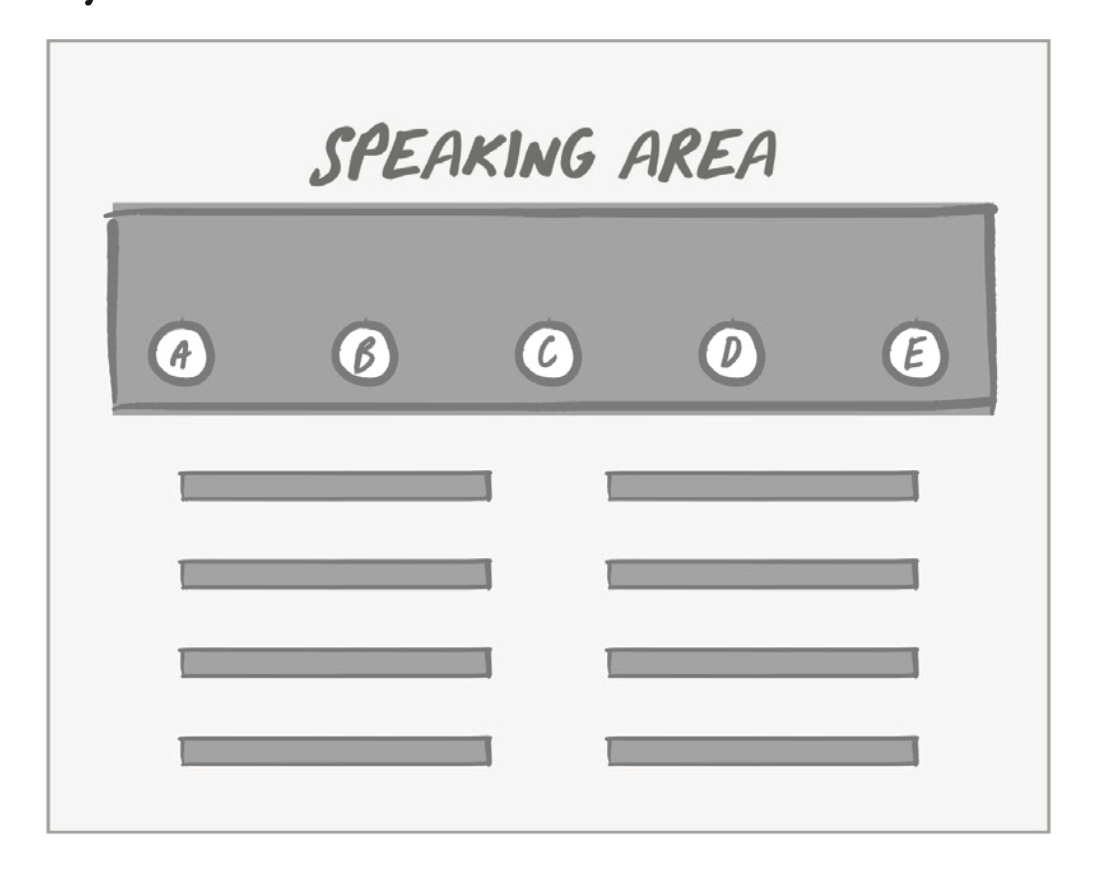
Hand-drawn diagram labeling five speaking-area zones, A through E, in a classroom layout.

The Boardroom

Hand-drawn diagram labeled 'Speaking Area' showing seating rows and positions in a presentation room.

The Stage - Stage A

Diagram of a speaking area layout showing the podium and stage positions relative to the audience

The Stage - Stage B

Hand-drawn diagram labeling a podium and speaking positions A through D on stage above rows of audience seating.

Visual Sectors

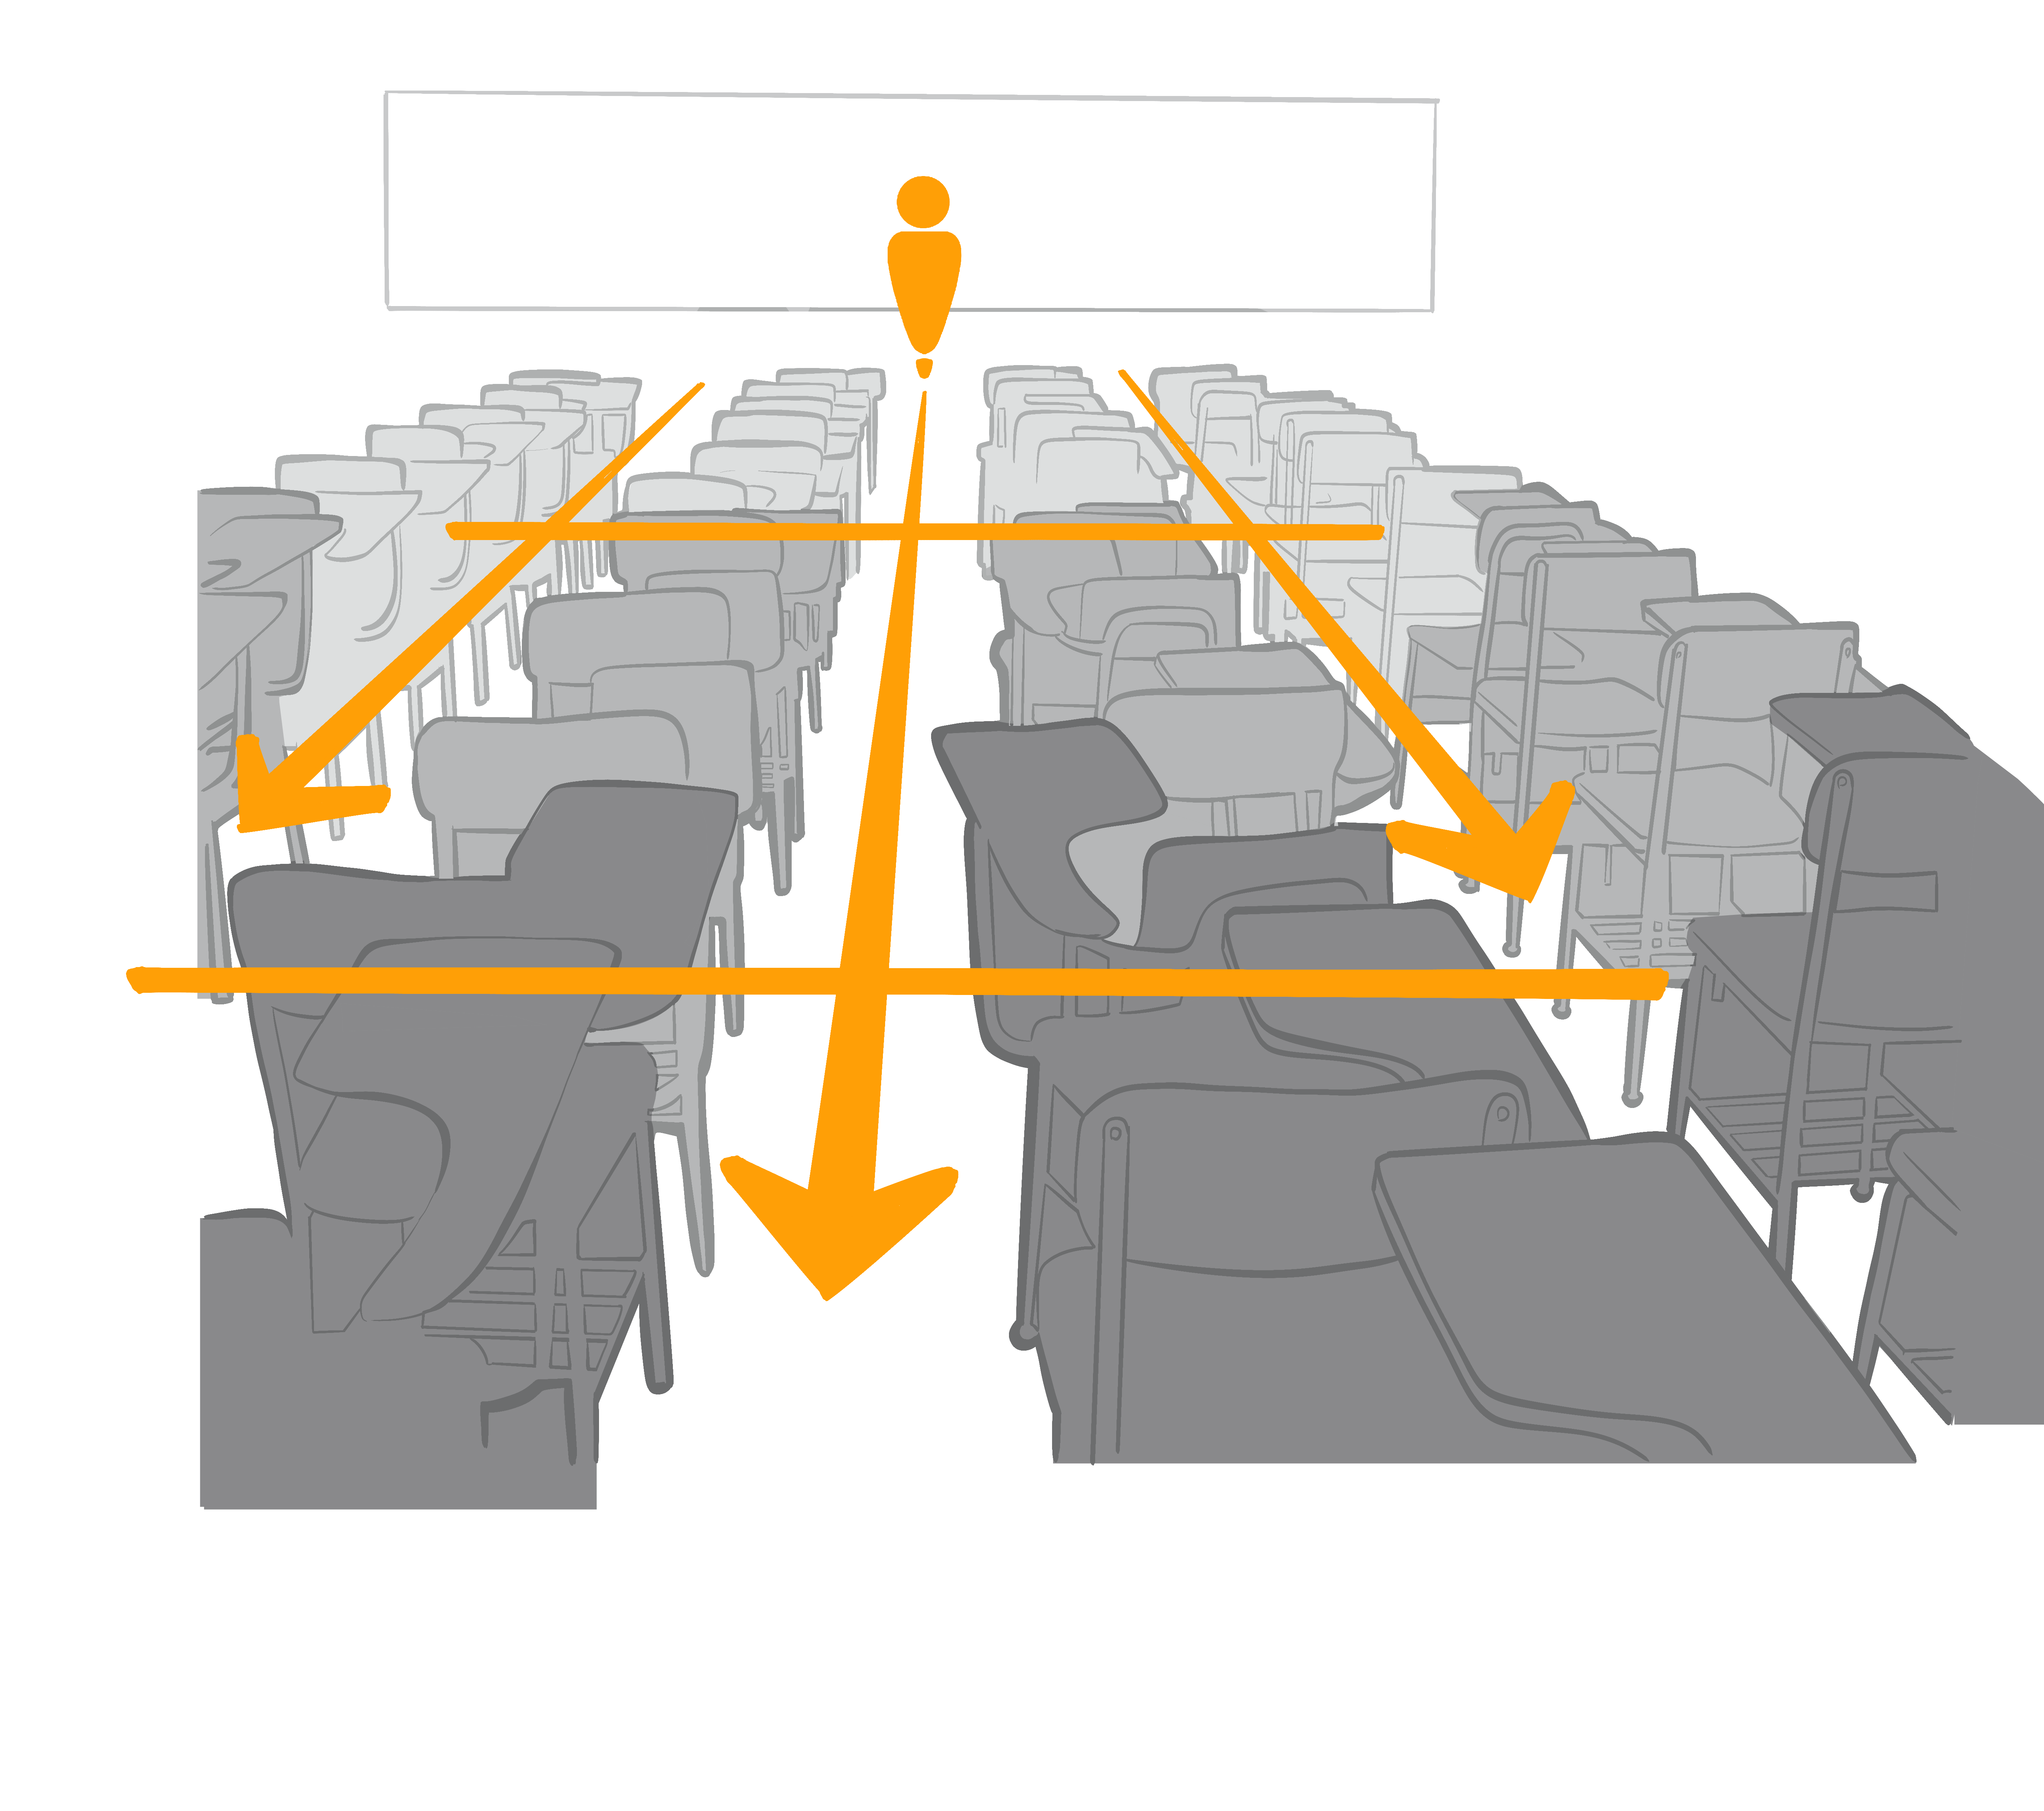
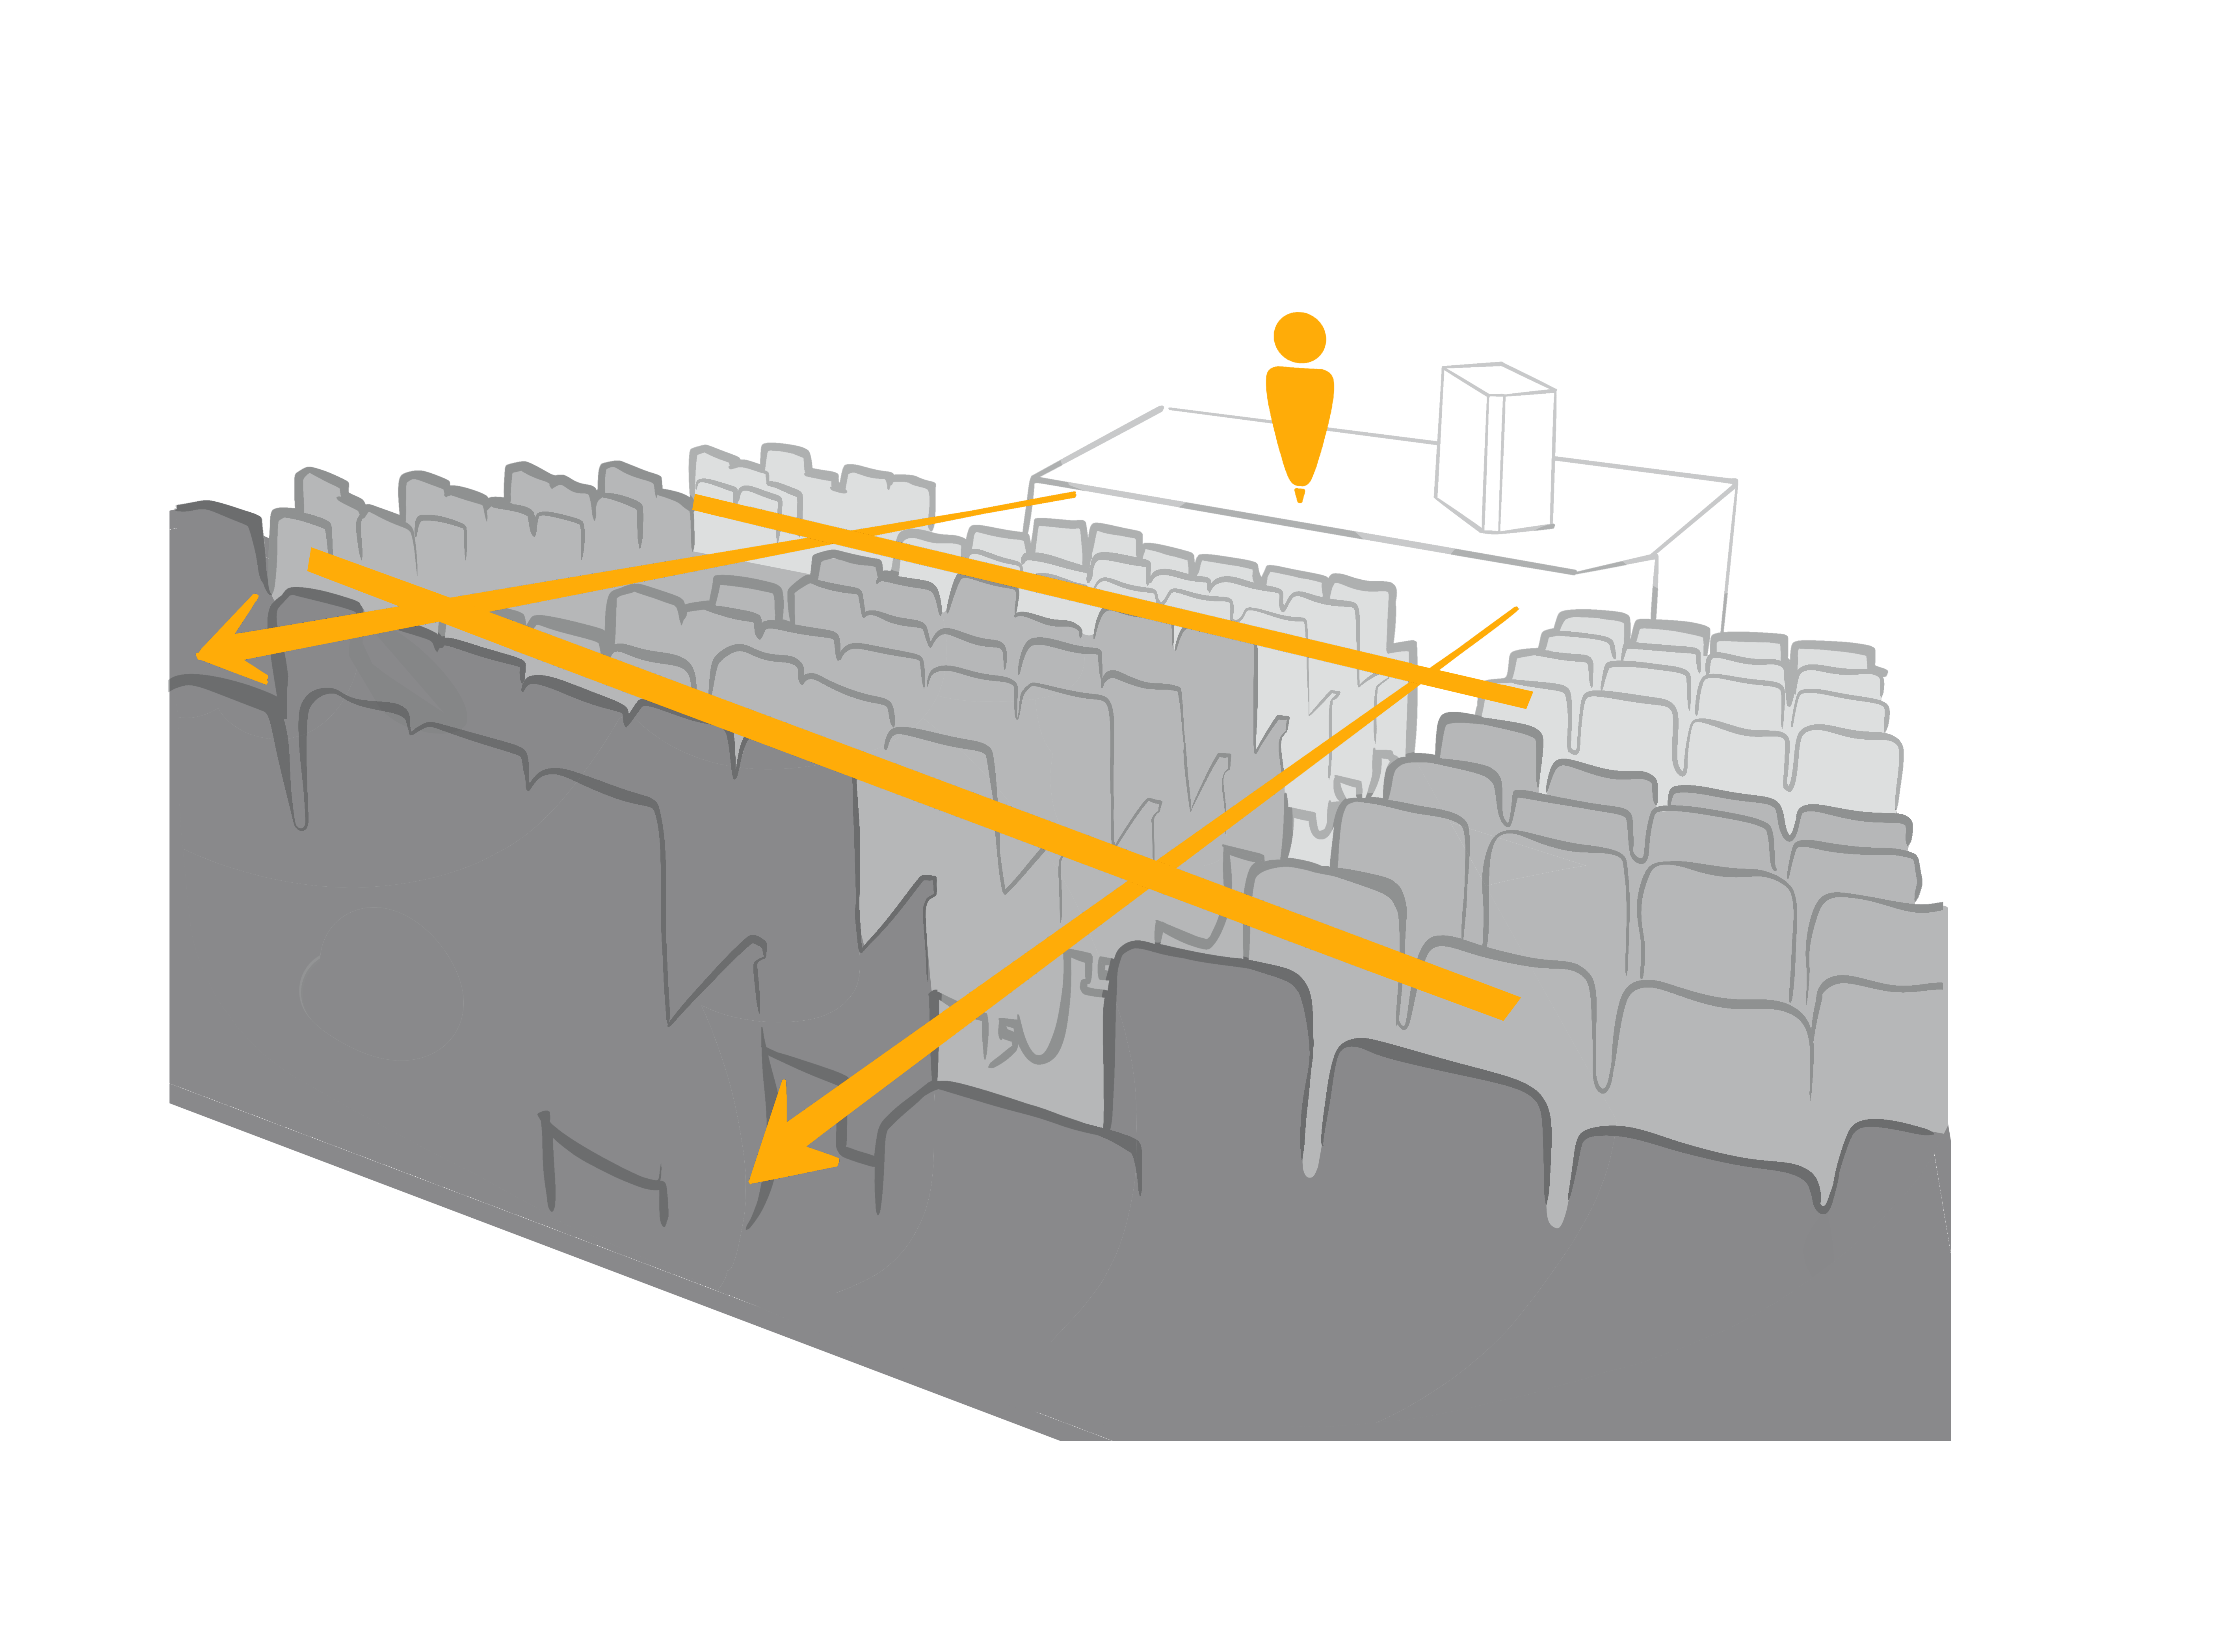
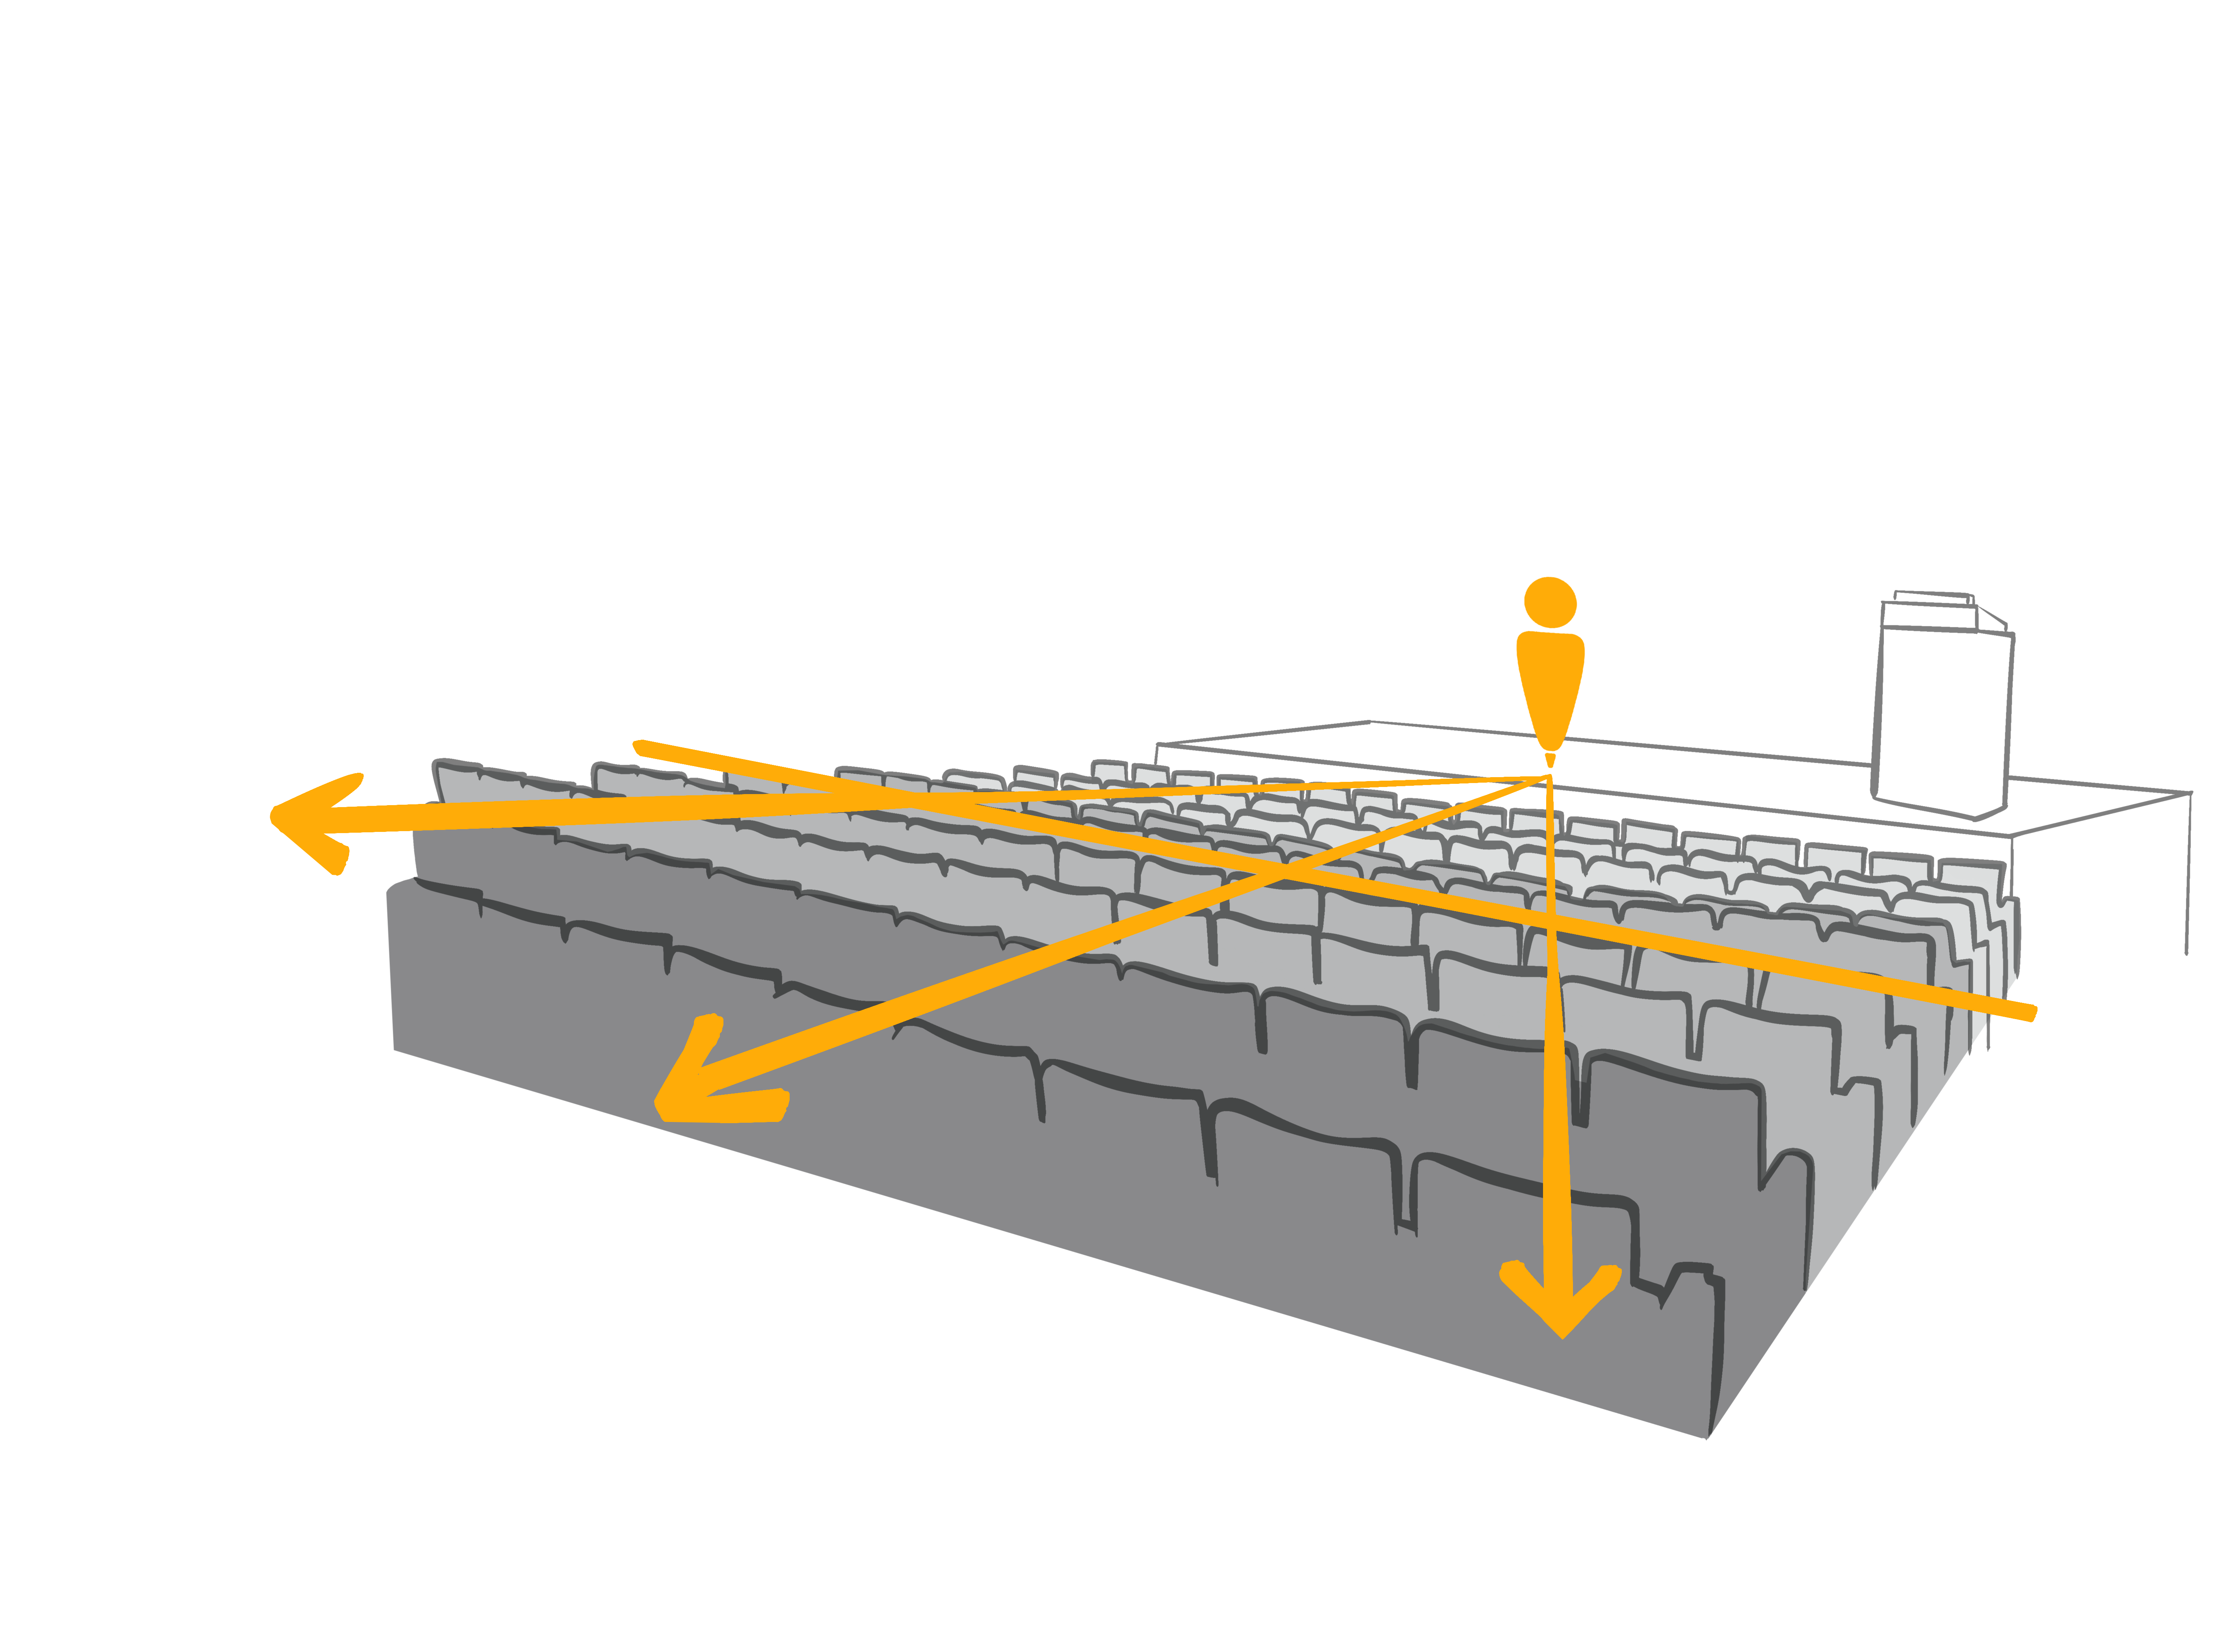
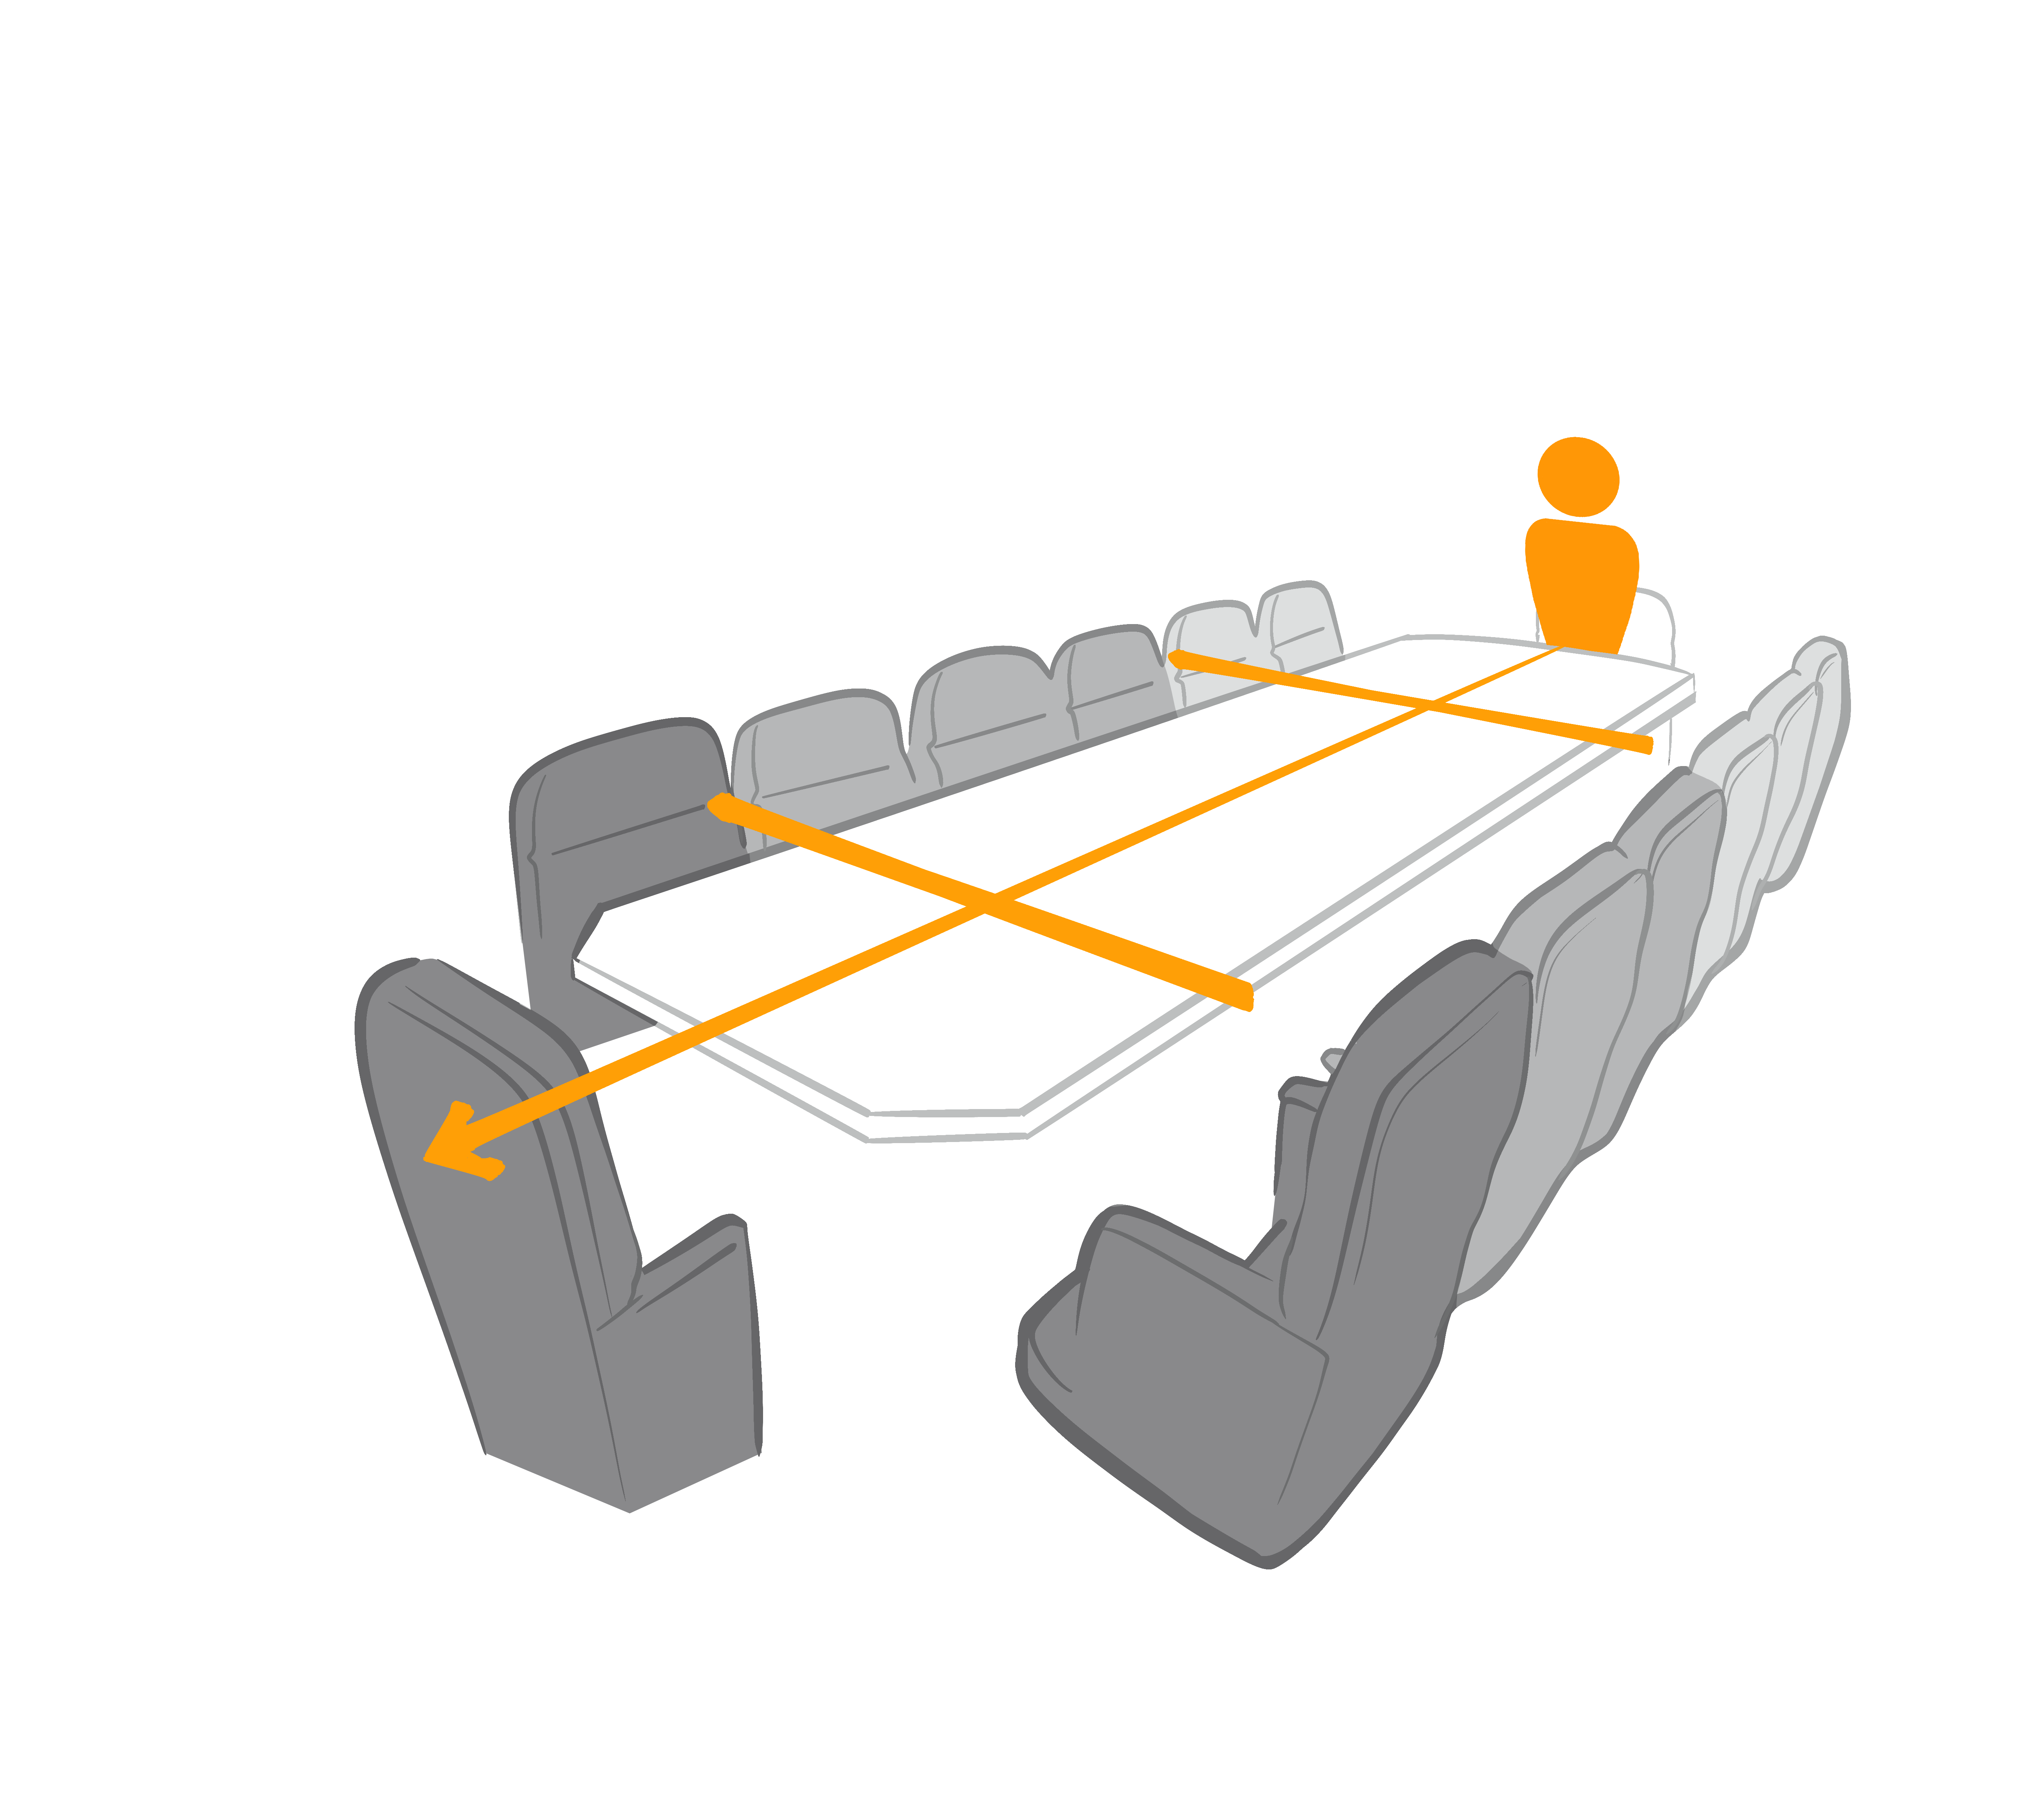
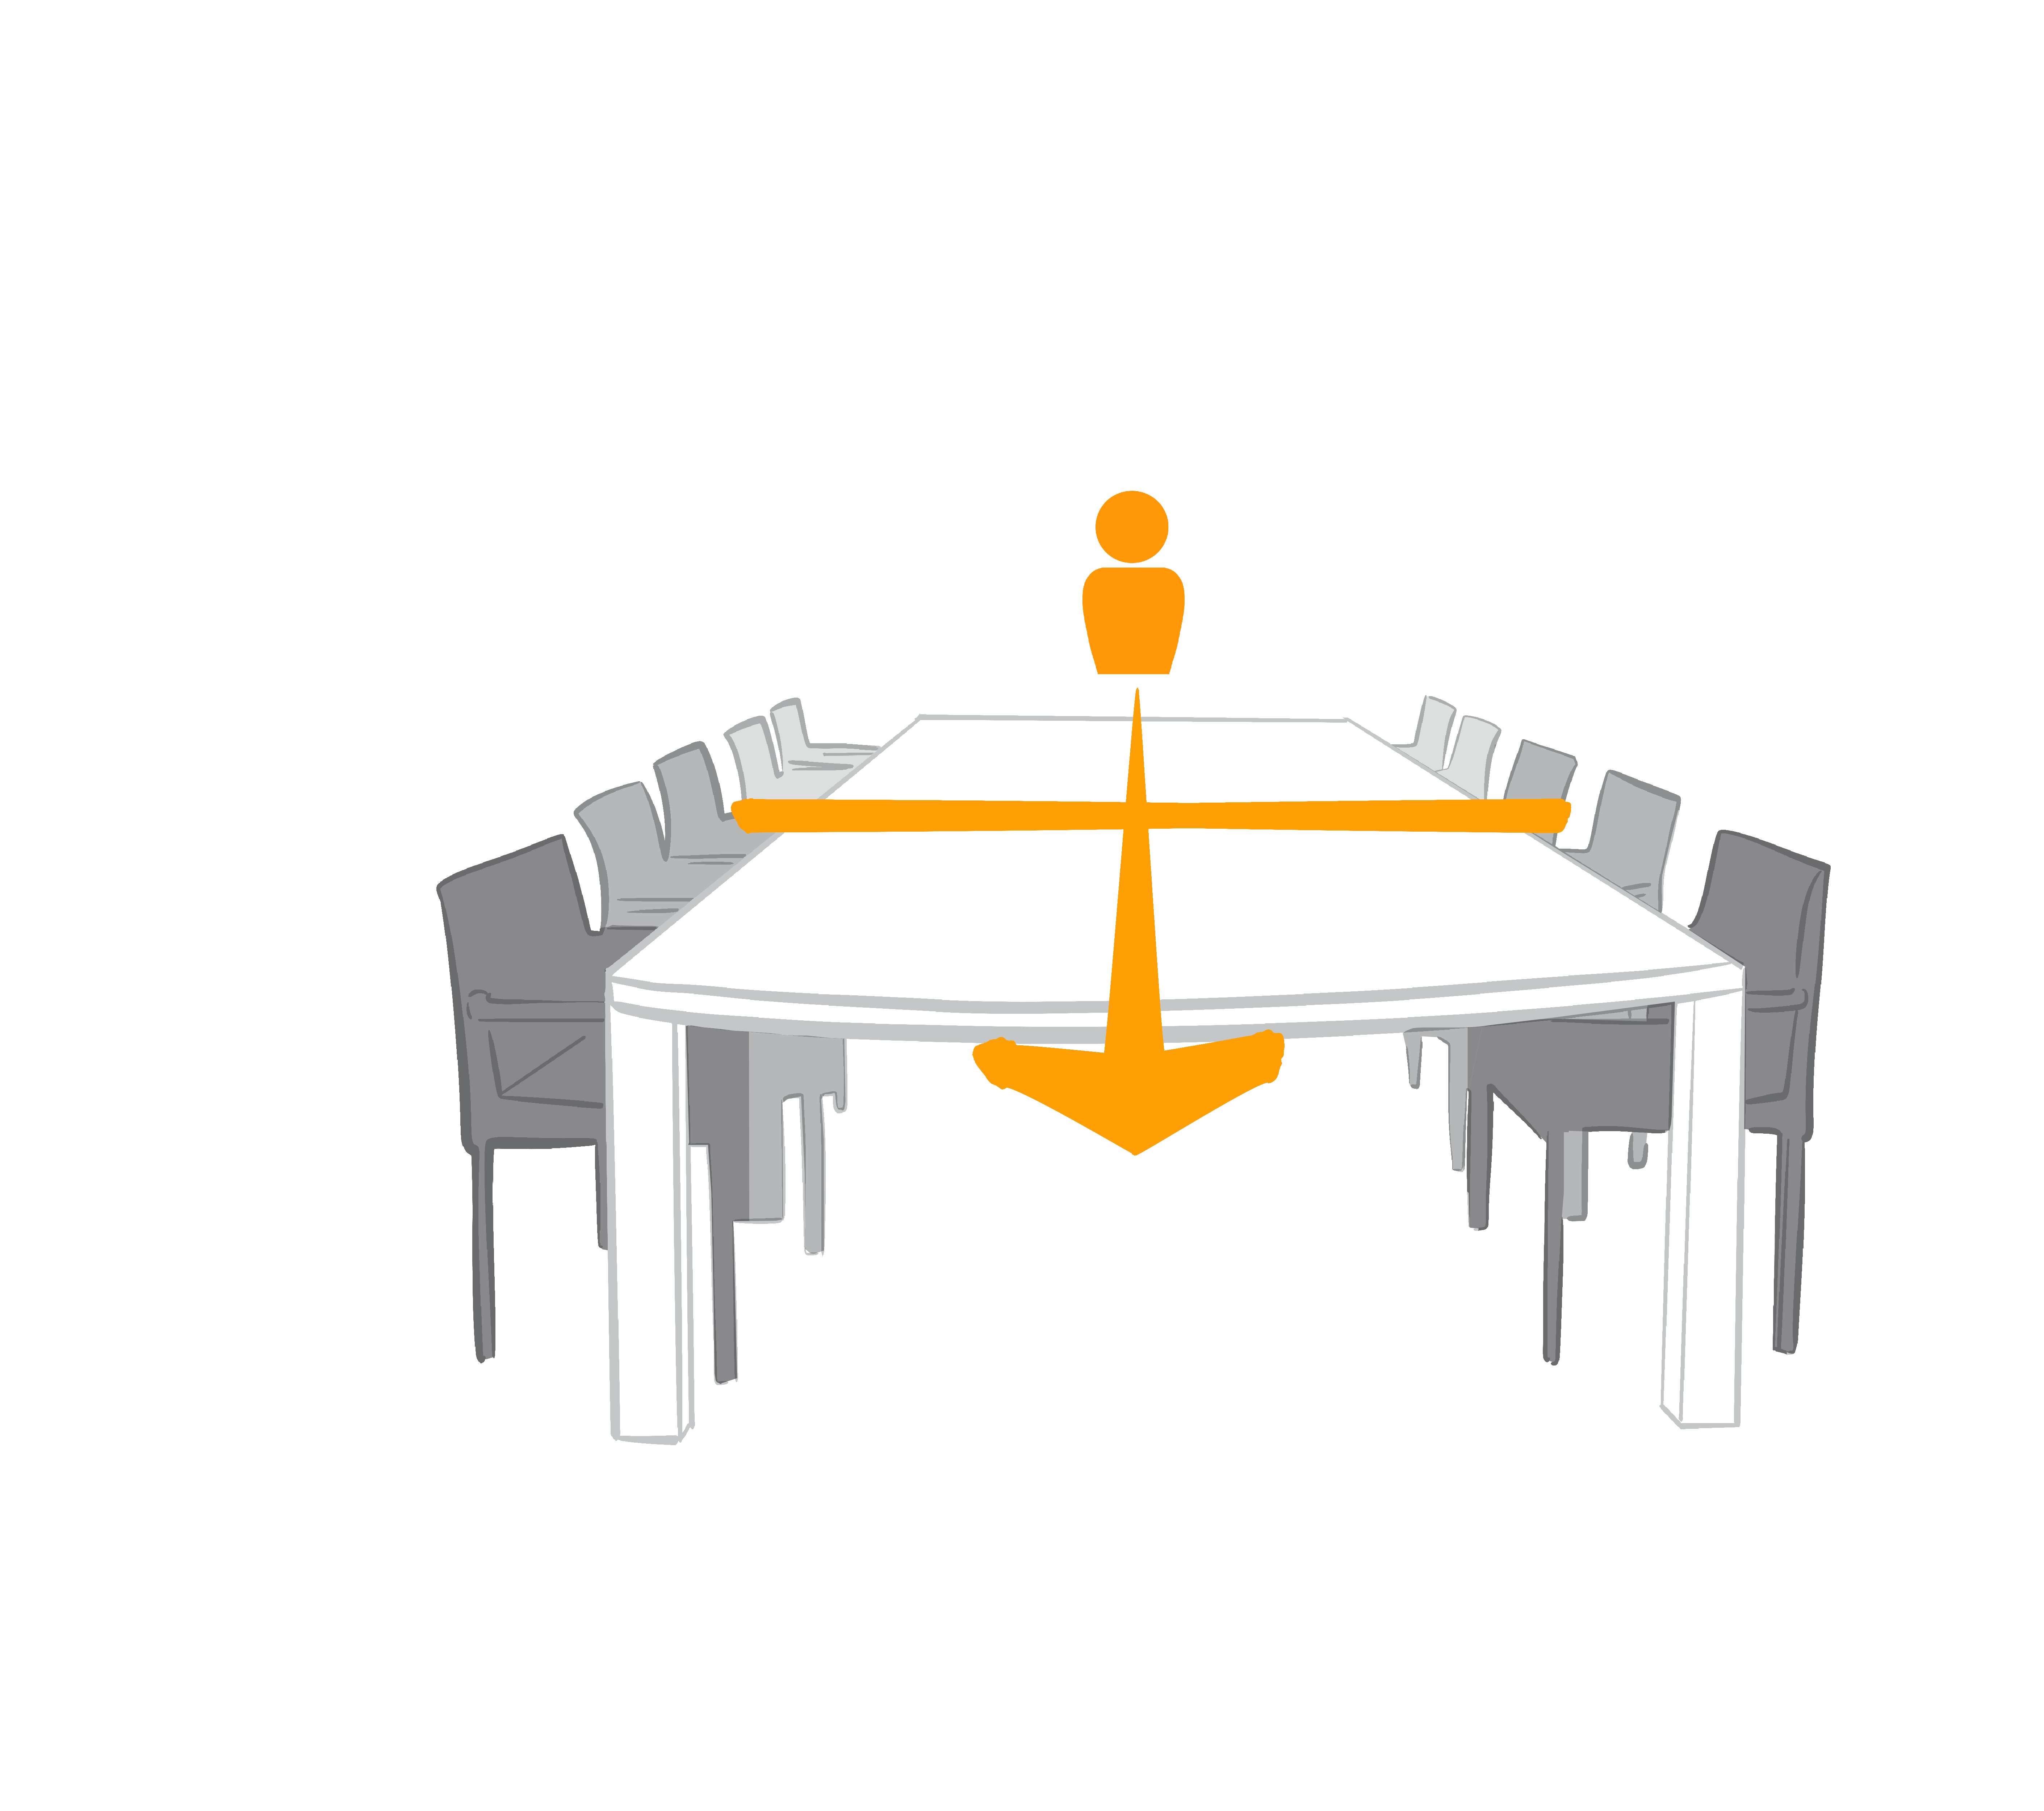
The visuals below refer to where you should be looking once you have hit one of your letters to engage the whole room. The idea is to look at a different sector every few seconds to make it look like you are speaking to everyone in the room.

The Classroom - Classroom A
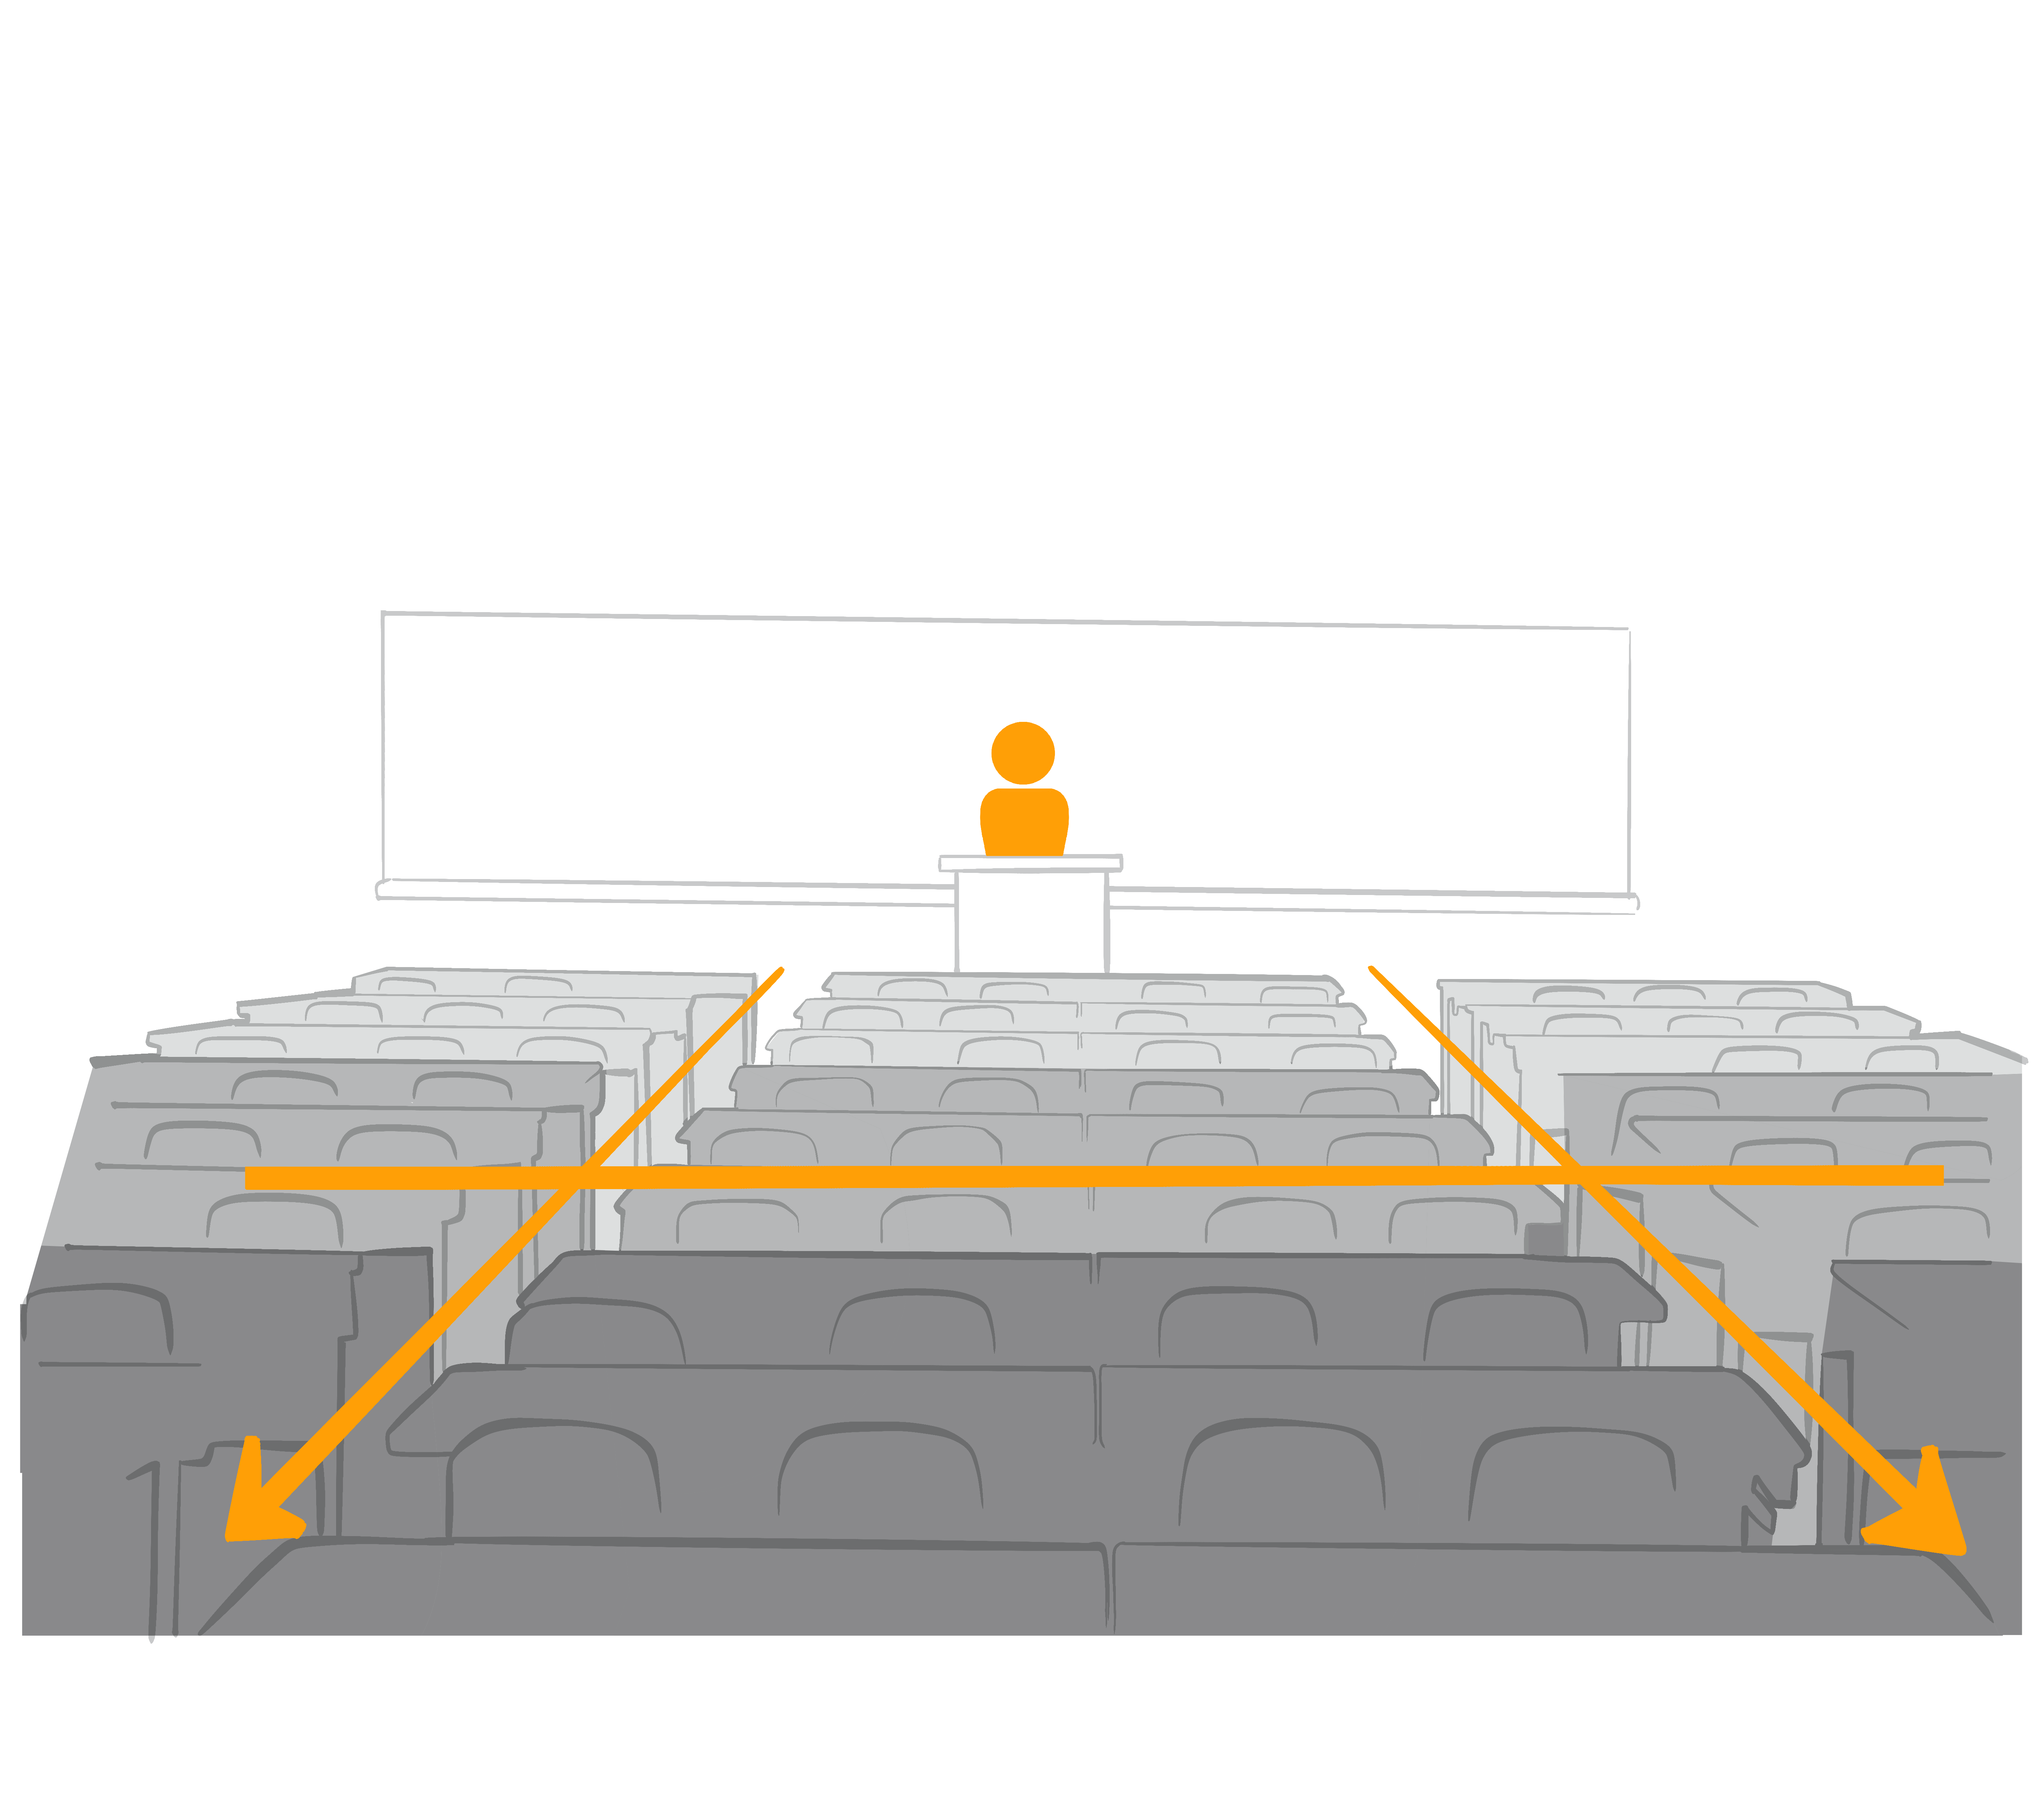
Illustration of a lecture hall showing a speaker's eye contact scanning pattern across the audience

The Classroom - Classroom B

Illustrated diagram showing eye-contact patterns across rows of classroom seating from a speaker's viewpoint.

The Auditorium - Auditorium A

Diagram illustrating an eye-contact scanning pattern for engaging an auditorium audience while presenting

The Auditorium - Auditorium B

Diagram of a speaker on stage with arrows showing eye-contact zones across a tiered auditorium.

The Boardroom - Boardroom A

Diagram of a boardroom table showing a presenter's eye-contact lines connecting to each seat.

The Boardroom - Boardroom B

Illustration of a boardroom table showing an eye contact scanning technique for presenters